
Grout, Caulk, and Tile: Keeping Your Bathroom Watertight
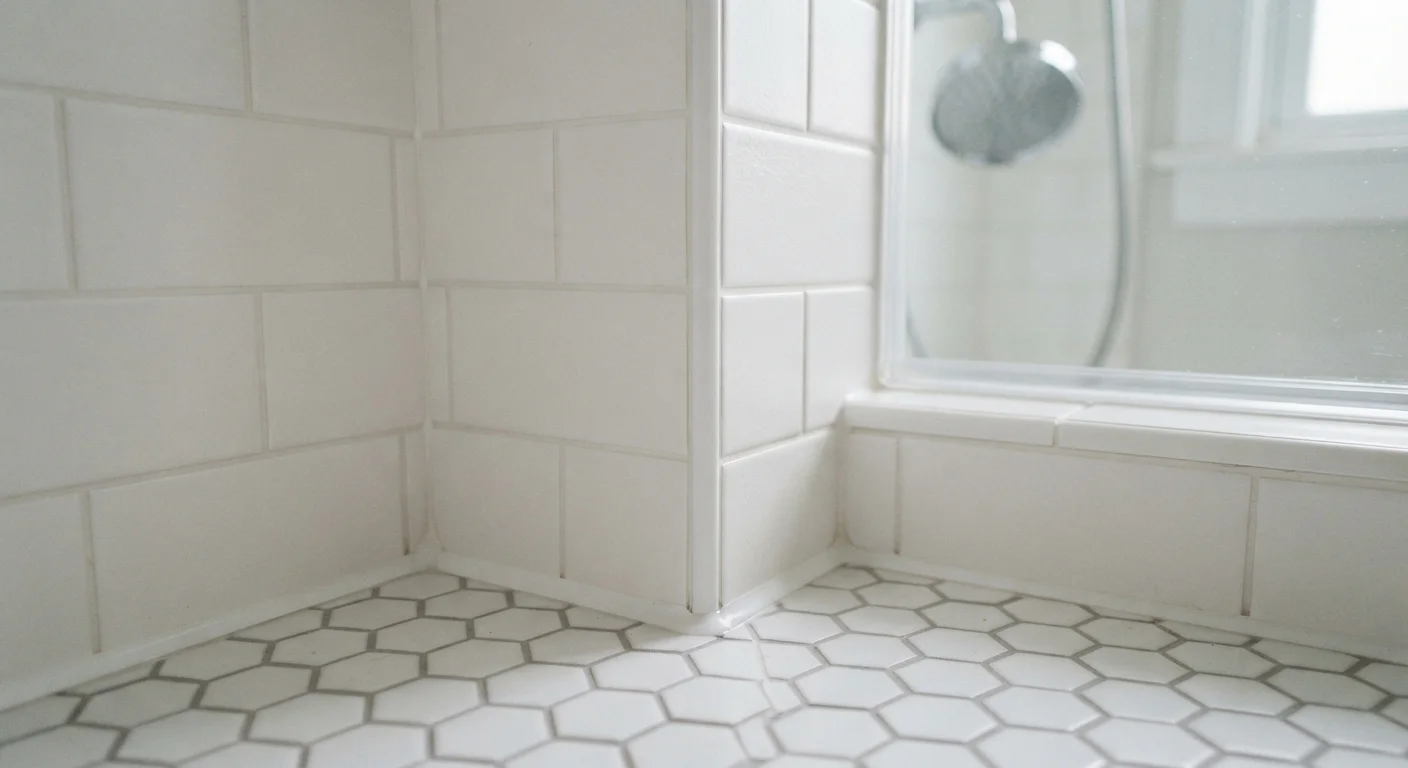
Photo credit: TrendingFaqs.com
In this article
Cracked grout and peeling caulk let moisture into your walls. Here is how to inspect, maintain, and repair bathroom tile surrounds properly.
Key Takeaways
- Grout seals gaps between tiles; caulk handles movement joints at corners, edges, and changes of plane.
- Cracked or missing caulk lets water into wall cavities, which can cause mold and structural damage over time.
- Most bathroom grout and caulk repairs are DIY-friendly with basic tools and proper surface preparation.
- Sanded grout is used for joints wider than 1/8 inch; unsanded grout is for narrower joints.
- Always allow caulk to cure fully, typically 24 to 48 hours, before exposing it to water.
- Peeling paint near tile may signal moisture already behind the wall; investigate before sealing over it.
Why water gets behind tile
Tile itself is waterproof. What is not waterproof are the joints between tiles, the seams where tile meets a tub or shower pan, and the corners where two tiled walls meet. Those are the places where water finds a way in.
Grout is a cement-based filler pressed into the gaps between tiles. It holds tiles in place and blocks most surface water, but it is porous and can crack as a building shifts slightly with temperature changes or settling. Caulk is a flexible sealant applied where movement is expected: at inside corners, along the base of a tile surround where it meets the tub deck, and around fixtures. Because caulk flexes, it does not crack the way rigid grout would in those spots.
When either material fails, water seeps in and sits behind tile on the substrate, whether that is cement backer board, standard drywall, or older plaster. Drywall behind a shower is especially vulnerable. Over time, persistent moisture causes mold, softens the substrate, and can eventually reach framing. If you have noticed paint peeling on the wall just outside your shower, that is often a sign moisture is already migrating. The article on diagnosing peeling paint explains how to trace that symptom to its source.
Catching grout and caulk failures early is straightforward and the repairs are manageable for most homeowners. Waiting until tiles shift or the wall feels soft means a much larger project.
How to inspect your tile surround
Do a visual check every six months. Good lighting helps: a flashlight angled low across tile surfaces makes cracks easier to see.
- Run your fingertip along every inside corner seam. Healthy caulk is smooth and bonds cleanly to both surfaces. If it pulls away from one side, has gaps, or crumbles when touched, it needs replacement.
- Look at grout lines for cracks, crumbling sections, or discoloration that does not wash off. Dark staining in grout can be mold rather than dirt.
- Press gently on individual tiles. A tile that flexes or sounds hollow when tapped may have lost its bond to the substrate behind it, which often means moisture has been present for a while.
- Check the caulk line where the tub or shower pan meets the tile. This joint takes the most movement stress and is the most common failure point.
If tiles are loose or the wall behind them feels soft, the repair goes beyond caulk and grout work. At that point, the substrate needs assessment, and depending on the damage, you may need a professional to open the wall. Unchecked water damage can travel further than it appears, including downward into crawl spaces. See crawl space moisture basics if you suspect water has moved beyond the bathroom itself.
What you need before you start
Having the right materials on hand before starting prevents the common mistake of stopping mid-repair when caulk is half-removed.
Caulk removal tool or plastic scraper
Removes old caulk from joints without scratching tile or tub surfaces.
Utility knife
Cuts along caulk edges to free stubborn beads before removal.
Bathroom-safe mold cleaner or diluted bleach solution
Kills mold spores in the joint before new caulk is applied.
100% silicone caulk (mold-resistant formula)
Seals movement joints in wet areas with a durable, flexible, waterproof bond.
Caulk gun
Provides controlled, even pressure for smooth caulk application.
Painter's tape
Masks tile and tub surfaces to produce clean, straight caulk lines.
Rubber grout float
Presses new grout into joints and removes excess from tile faces.
Grout saw or oscillating multi-tool with grout blade
Cuts out cracked or damaged grout cleanly before new grout is applied.
On grout type: sanded grout contains fine sand and is used for joints wider than 1/8 inch. Unsanded grout is smoother and goes into tighter joints where sand would scratch tile glazing. Check your existing joint width with a toothpick or a small ruler before buying.
What you will need
Step-by-step: recaulking a shower or tub surround
Recaulking is the repair most bathrooms need first and most often. Follow these steps carefully, because surface preparation determines whether the new caulk lasts one year or several.
Remove all old caulk
Use a caulk removal tool or a plastic scraper to pull out the existing caulk. A utility knife can cut along both edges first to free stubborn beads. Work carefully to avoid scratching tile or the tub surface. Take your time and remove everything, including residue in the seam. Leaving old caulk behind is the most common cause of early failure in a fresh application.
Clean and dry the surface completely
Spray the joint with a bathroom cleaner or a diluted bleach solution (one part bleach to ten parts water) to kill any mold spores in the seam. Rinse thoroughly, then let the surface dry for a minimum of 24 hours. Caulk will not bond to wet or even slightly damp surfaces, and this step is where patience pays off most.
Tape the joint for clean edges
Apply painter's tape along both sides of the joint, leaving the seam itself exposed. The tape width determines how wide your finished caulk bead will be. Press the tape down firmly so caulk cannot bleed under it. This step makes the result look cleaner and is worth the two extra minutes it takes.
Apply caulk in one steady pass
Cut the caulk tube tip at a 45-degree angle, opening it just large enough to fill your joint. Hold the gun at a consistent angle and move steadily along the seam in one continuous motion rather than stopping and starting. Work the full length of one seam before moving to the next. For shower surrounds, do the horizontal base seam first, then the vertical corner seams.
Smooth and tool the bead
Wet your fingertip or a caulk finishing tool and run it along the bead with light, consistent pressure to press the caulk into the joint and create a slightly concave surface. Remove the painter's tape immediately while the caulk is still wet, pulling it back at a low angle so it does not drag across the fresh bead.
Allow full cure before using the shower
Check the product label for cure time. Most silicone caulks need 24 hours before light water exposure and up to 48 hours for full cure in a wet environment. Latex caulk typically cures faster but is less resistant to prolonged moisture. Do not shorten this period, even if the surface feels dry to the touch, because internal curing takes longer than surface drying.
Repairing and resealing grout
Grout repair follows a similar logic: remove the damaged material completely before adding new. Applying fresh grout over cracked grout traps moisture and the patch fails quickly.
Use a grout saw or oscillating multi-tool with a grout removal blade to cut out damaged sections to a depth of at least 1/4 inch. Vacuum the joint thoroughly and wipe with a damp cloth. Mix new grout to a peanut butter consistency per the package directions, press it into joints with a rubber grout float held at a 45-degree angle, and work diagonally across the tiles to pack the joint fully. Wipe excess off tile faces with a damp sponge before it hardens.
Let the grout cure for the time specified on the product packaging, typically 24 to 72 hours, before exposing it to water. Once cured, apply a penetrating grout sealer to slow moisture absorption. Sealing grout annually in a shower or tub surround is reasonable maintenance.
If moisture has gotten behind drywall adjacent to the tile, you may also find bubbling or soft spots on nearby painted surfaces. The guide to drywall repairs covers how to assess whether the damage is surface-level or structural. For plumbing leaks behind the wall rather than surface sealing failures, basic plumbing knowledge for renters and owners can help you distinguish the two.
Keeping your bathroom dry after repairs
Repairs hold longer when the bathroom has consistent ventilation. Run the exhaust fan during every shower and for at least 15 minutes afterward. If your fan is weak or absent, cracking a window helps. Humidity that cannot escape accelerates grout deterioration and promotes mold in caulk lines.
Wipe down tile corners and the tub-to-tile seam with a dry cloth after bathing when practical. This simple habit reduces the standing moisture that stresses caulk bonds. Check caulk lines once a year and address any small gaps before they grow. Grout sealer, reapplied annually, slows moisture penetration and makes the surface easier to clean.
A well-sealed tile surround is also a cleaner, more organized bathroom environment. If you are working on bathroom improvements more broadly, low-cost bathroom organization ideas covers storage and layout improvements that do not require major work. The same attention to moisture applies around windows: seasonal window maintenance addresses sealing gaps where water can enter in a different part of the home.

Author
Home Editorial Team
Home Editorial Team is the collective byline for our editorial team and contributor network. Articles published under this byline or an editorial pen name are researched, written, and reviewed according to our editorial standards for clarity, consistency, and independence before publication.
View all articles →