
Drywall Damage: Holes, Cracks, and the Fixes That Hold Long-Term
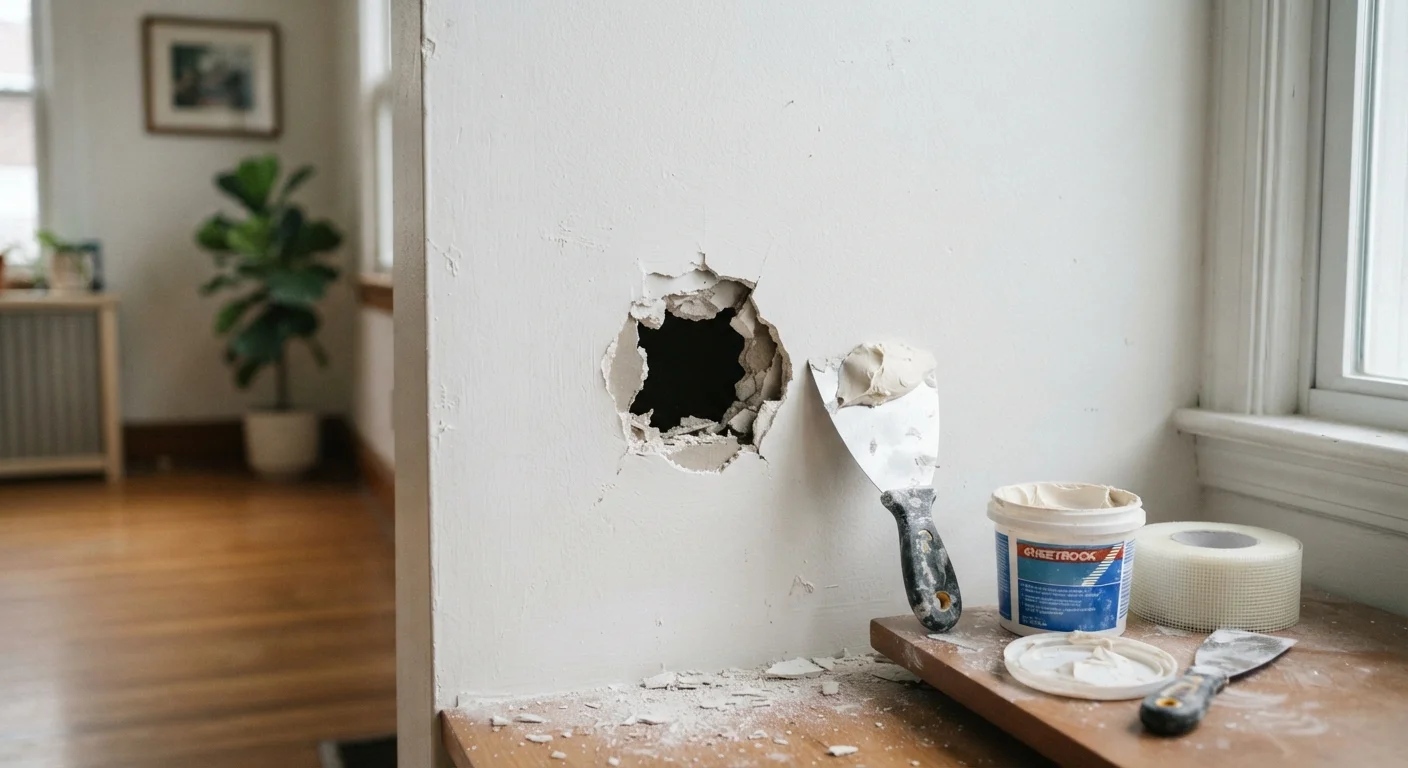
Photo credit: TrendingFaqs.com
Not all drywall damage is equal. Understand which repairs homeowners can handle themselves and which signal a deeper structural issue.
Key Takeaways
- Hairline cracks are usually cosmetic, but wide or diagonal cracks near doors and windows may signal a structural problem.
- Holes under three inches wide are manageable for most homeowners using a self-adhesive patch and joint compound.
- Larger holes require a backing board and a drywall patch cut to fit, then two to three coats of compound.
- Each coat of joint compound must dry fully before sanding or applying the next coat.
- Moisture-related drywall damage must be fixed at the source before any surface repair will hold.
Why drywall damage is not all the same
Drywall is paper-faced gypsum board, and it fails in predictable ways. Most damage is cosmetic: doorknob impacts, furniture scuffs, and the small holes left by picture hangers. These are straightforward repairs any homeowner can complete in an afternoon. Understanding which home repairs are beginner-safe helps you decide before you start.
The category worth paying attention to is cracking that follows a pattern. Settling cracks appear over time in newer construction as framing lumber dries, and they run horizontally or follow the seams between drywall panels. These are generally cosmetic. Diagonal cracks at the corners of door and window frames, especially when they widen over time or when doors start to stick, can point to foundation movement or framing issues. Addressing the surface without looking at the cause produces a repair that will fail again.
Moisture damage is a separate category entirely. Drywall that has been wet loses structural integrity, and the area can harbor mold inside the wall cavity. Any repair to moisture-damaged drywall must begin with eliminating the source, whether that is a leaking pipe, a failing window seal, or humidity from a crawl space. Keeping window frames and seals in shape can prevent one common source of water intrusion.
Light reveals what eyes miss
Hold a work light or lamp close to the wall and shine it parallel to the surface (called raking light). This shows bumps, ridges, and uneven compound that looks fine under normal lighting. Check your repair this way after each sanding pass before applying the next coat.
What you need and how to do the repair
Gathering the right materials before you start saves trips to the hardware store mid-repair. Most small to medium repairs use only a handful of items.
Utility knife
Cuts drywall cleanly when sizing a patch or squaring off ragged hole edges.
Putty knife or drywall knife (6-inch)
Spreads and feathers joint compound over the repair area.
Self-adhesive mesh patch
Bridges small to medium holes and gives joint compound a surface to grip.
Pre-mixed all-purpose joint compound
Fills and levels the repair in successive thin coats.
120- and 220-grit sandpaper
Knocks down ridges between coats and smooths the final surface before painting.
Drywall screws and backing board
Provides structural support for holes wider than about three inches.
Primer
Seals the compound so topcoat paint absorbs evenly and the patch does not show through.
Sanding sponge
Smooths compound in tight corners or textured areas without oversanding.
Work through the steps below in order. Skipping the diagnostic step or rushing between coats of compound are the two most common reasons a drywall repair looks good for a month and then fails.
What you will need
Diagnose the damage before touching it
Look at the shape, location, and pattern of the damage. A single hairline crack running horizontally across the middle of a wall is almost always cosmetic settlement. Diagonal cracks radiating from the corners of door or window frames, or cracks wider than 1/4 inch, can point to foundation movement or structural stress. Do not patch these and move on. If you see that pattern, consult a structural professional first.
Also check whether the area feels soft, looks discolored, or smells musty. Soft or bubbling drywall around a crack or hole usually means moisture is involved. Fix the moisture source before any repair will hold. See what lurks beneath your home for guidance on moisture problems that start below the floor.
Choose the right repair method for the size
Damage roughly falls into three categories that call for different approaches:
- Hairline cracks and dents (under 1/4 inch wide): fill directly with spackling compound or lightweight joint compound, no patch needed.
- Small holes (up to about 3 inches across): use a self-adhesive mesh patch placed over the hole, then cover with joint compound.
- Larger holes (3 inches and wider): cut the hole into a clean rectangle, install a backing board behind the opening, cut a matching piece of drywall, screw it in place, then tape and compound the seams.
Prepare the damaged area
For cracks, use your utility knife to widen the crack slightly into a shallow V shape. This gives the compound something to grip rather than sitting on a hair-thin surface. Brush away dust and loose paper facing.
For holes, trim any torn or ragged drywall paper flush with the wall surface using your utility knife. If you are cutting to install a backing board, score the drywall with the knife along a straightedge and snap it clean. Cut the opening as a square or rectangle so your patch fits precisely.
Install backing support for larger holes
Cut a piece of wood (a 1x3 or 1x4 works well) a few inches longer than the opening's height. Slide it into the hole and hold it tight against the back of the existing drywall, centered across the opening. Drive drywall screws through the existing wall on both sides of the hole to secure the board. Do this on each side of the hole if the gap is wide.
Cut your drywall patch to match the opening exactly. Set it in place and screw it to the backing boards using drywall screws spaced about 6 inches apart. The patch surface should sit flush with, not above, the surrounding wall.
Apply joint compound in thin coats
For mesh patches or taped seams on larger repairs, embed paper or fiberglass tape into the first coat of compound while it is still wet. Press the tape flat and smooth excess compound over it with your 6-inch knife. Let this coat dry completely, which typically takes 24 hours depending on humidity and temperature.
Apply a second coat, feathering the edges outward 2 to 3 inches beyond the first coat to blend the repair into the surrounding wall. Sand lightly with 120-grit sandpaper once dry. Apply a third coat if needed, feathering even wider. The goal is a surface that looks flat without visible ridges when you shine a light across it at a low angle.
Sand, prime, and paint
Once the final coat is fully dry, sand with 220-grit sandpaper to remove any remaining ridges. Wipe down the area with a slightly damp cloth to remove dust, then let it dry before priming.
Apply a coat of drywall primer to the repaired area. Skipping primer is the most common reason a finished patch shows through paint: the compound absorbs paint differently than the surrounding wall, creating a dull spot or texture difference. Once the primer dries, paint the area. Matching texture before painting helps blends the repair if the surrounding wall has a stippled or orange-peel finish. If paint is peeling around the repaired area, diagnosing why paint peels can prevent the same problem from recurring.
A finished drywall repair, done with patience, is invisible. The most visible repairs are almost always ones where the compound was not given time to dry between coats, or where primer was skipped before painting.

Author
Home Editorial Team
Home Editorial Team is the collective byline for our editorial team and contributor network. Articles published under this byline or an editorial pen name are researched, written, and reviewed according to our editorial standards for clarity, consistency, and independence before publication.
View all articles →