
Decluttering Without the Overwhelm: A Practical Room-by-Room Approach
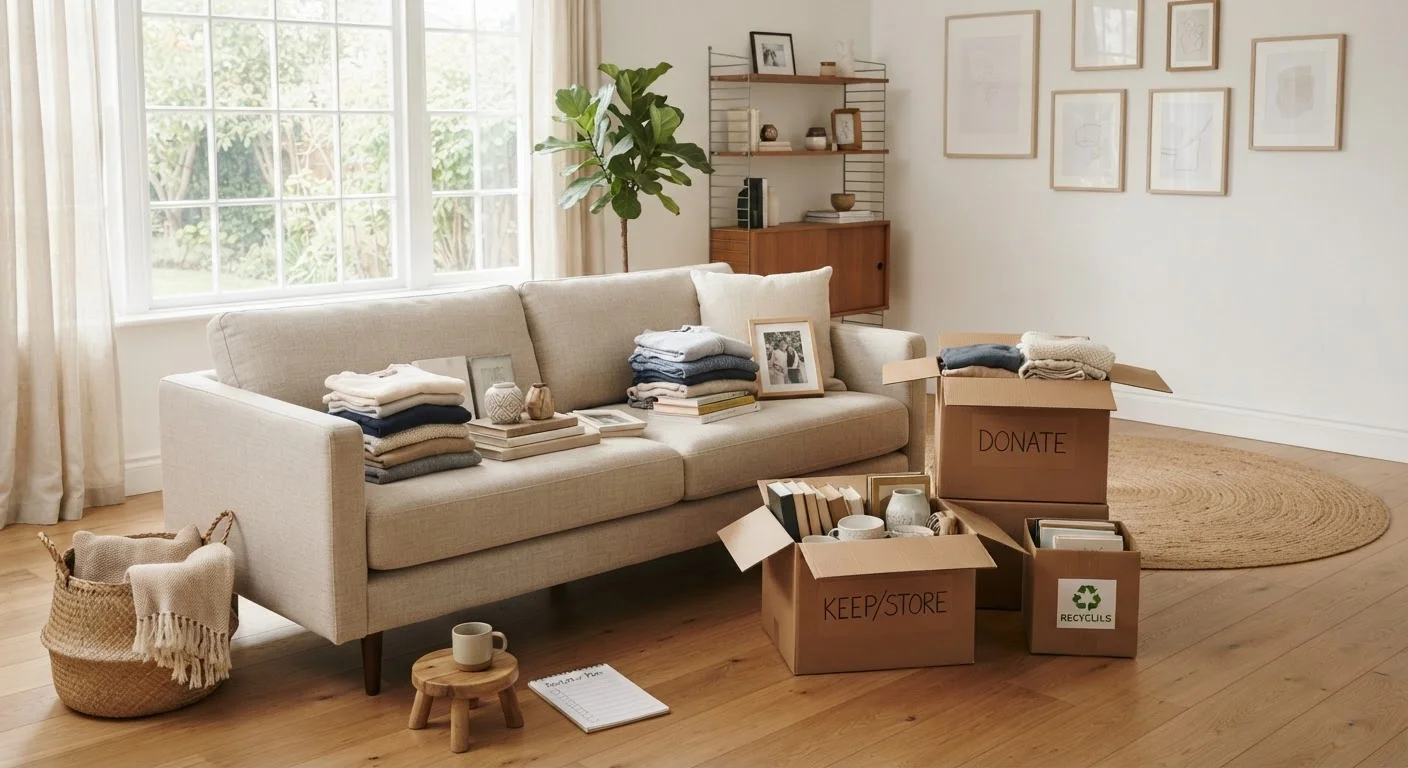
Photo credit: TrendingFaqs.com
In this article
Clutter affects stress levels and how livable a space feels. Work through your home one area at a time with this straightforward, low-pressure guide.
Key Takeaways
- Tackling one room at a time prevents the mental overload that causes most decluttering attempts to stall.
- A four-category sort (keep, donate, trash, relocate) gives every item a clear destination.
- Starting with low-stakes areas like a bathroom builds momentum before harder rooms.
- Clutter in the bedroom and home office has a measurable effect on sleep quality and focus.
- Maintaining a tidy home is easier once the initial declutter reduces the volume of stuff.
Why room-by-room works better than tackling everything at once
Whole-home decluttering projects collapse for one consistent reason: the scope feels unmanageable the moment you start pulling things out of closets. A room-by-room approach limits what is visible and in motion at any given time, which keeps decision fatigue from shutting the process down.
There is also a practical sequencing advantage. Rooms vary in emotional weight. A bathroom is mostly functional objects with little sentimental pull. A bedroom closet or a box of old photos is a different experience entirely. Starting with lower-stakes spaces lets you build a working rhythm before you reach items that require more thought. For guidance on those harder categories, see how to handle sentimental items without regret.
The home organization hub covers a range of approaches, but the method here is deliberately low-pressure: finish one defined space, then move to the next.
What to prepare before you start
You do not need special bins or a label maker. What you do need is a clear sorting system and somewhere to put things as you decide. Before entering the first room, set up four containers or designated floor spots for: keep, donate, trash, and relocate (items that belong in a different room).
The relocate category often gets skipped, and that is where clutter migrates rather than disappears. Items moved to a hallway or kitchen counter without a destination end up back where they started.
What you will need
Large trash bags
Collect items for trash and donation as you sort through each room.
Cardboard box or reusable tote
Holds the relocate pile so items can be returned to their correct rooms at the end of each session.
Sticky notes or masking tape
Label containers or areas quickly without buying dedicated bins.
Timer
Set a 20- to 30-minute work interval to keep sessions focused and prevent fatigue.
Room-by-room: where to start and what to focus on
Follow the steps below in the recommended order. Each room builds on the last, and the sequence moves from quick wins to more involved spaces.
Start with a bathroom
Bathrooms are small and contain mostly practical items, so decisions are faster. Pull everything out from under the sink and out of cabinets. Discard expired medications (following local disposal guidelines), nearly empty product bottles you have not used in months, and duplicate items you do not need. Return only what you actively use.
Move to the kitchen
Kitchens accumulate gadgets, duplicate utensils, and expired pantry items. Work one zone at a time: countertops first, then cabinets, then the pantry or food storage area. Keep the counter clear of anything that does not earn daily use. For cabinets, if two items do the same job, keep the one you reach for.
Clear the living room
Living rooms collect items in transit: mail, bags, chargers, things set down and forgotten. Sort surface clutter first using the four categories. Then move to shelves, media storage, and any cabinets. Books and media are common sources of volume; keep what you plan to use again and donate the rest.
Tackle the bedroom
Bedrooms require a slower pace because clothing and personal items involve more decisions. Start with surfaces and under the bed, then move to the closet. For clothing, a simple rule: if you have not worn it in a full year and you do not reach for it when it is clean, donate it. Reserve one session for the closet alone if needed.
Address storage areas last
Garages, basements, and storage closets hold the overflow from every other room, so decluttering them last means you have already made decisions about what belongs in the house. Sort by category rather than by where things are sitting. Anything that has not been retrieved in two or more years is a strong candidate for donation or disposal.
Paper deserves its own system beyond what a single declutter session can fix. The guide to managing paper clutter at home walks through which documents to keep, for how long, and how to prevent future overflow.
If a home office is part of your declutter, note that workspace clutter affects more than appearance. See how desk clutter impacts focus and productivity for a fuller picture.
Keeping it from piling up again
A single declutter session does not hold unless you build a small number of habits around it. The two that matter most are: giving items a fixed home when they enter the house, and doing a short weekly reset rather than waiting for clutter to accumulate again.
A weekly home reset checklist can make that second habit almost automatic, covering each room in a predictable order without consuming a full weekend.
Bedroom clutter, in particular, is worth keeping controlled. Visual disorder in the room where you sleep affects how easily the nervous system winds down. The full picture of what makes a bedroom restful covers lighting, airflow, and other factors alongside clutter. If general home stress is a concern, the mental wellness hub has practical strategies for managing it.

Author
Home Editorial Team
Home Editorial Team is the collective byline for our editorial team and contributor network. Articles published under this byline or an editorial pen name are researched, written, and reviewed according to our editorial standards for clarity, consistency, and independence before publication.
View all articles →