
Creating a Comfortable Home Office in a Space That Was Not Built for One
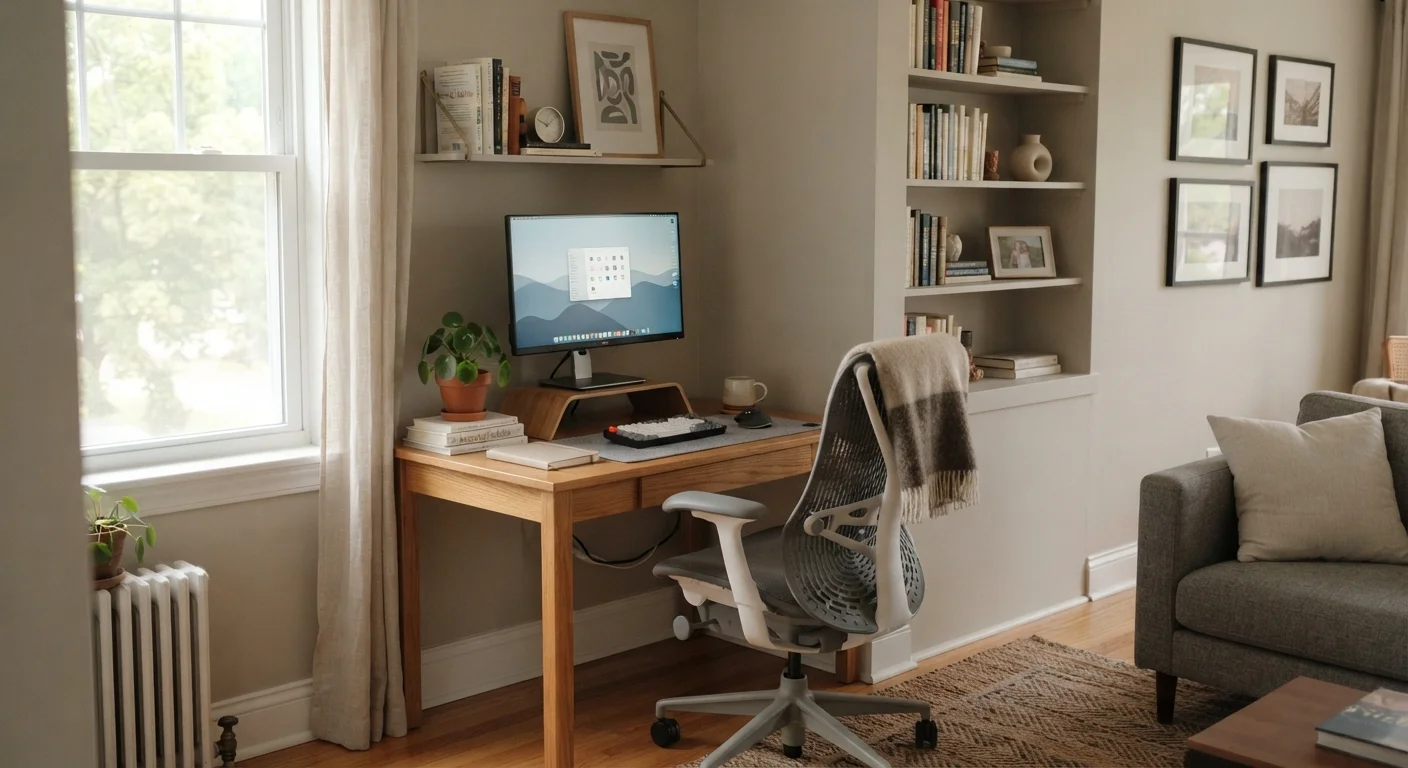
Photo credit: TrendingFaqs.com
In this article
Working from a spare bedroom or corner of the living room comes with real challenges. Learn how to set up an ergonomic, focused workspace at home.
Key Takeaways
- Choosing the right physical location sets the foundation for focus and comfort.
- Ergonomic seating and monitor height reduce fatigue during long work sessions.
- Controlling light and noise in a shared space is possible with low-cost changes.
- Clutter in a small workspace compounds distraction more than in a dedicated room.
- Consistent start and end routines help your brain separate work from home life.
Why the space you choose matters more than the furniture you buy
Most home offices are carved out of rooms that were designed for something else: a spare bedroom, a dining table corner, or a closet turned nook. Before spending money on equipment, spend time picking the right spot. The location shapes everything that comes after.
Noise is the first factor to weigh. A desk facing the living room television, or placed near a hallway used by others during your working hours, creates constant interruptions that no headset fully solves. If you share your home with others, position your workspace as far as practical from high-traffic areas. For more on how room layout affects daily comfort, see the guide to open-plan versus defined room layouts.
Natural light matters too, but its direction matters as much as its presence. Placing your monitor directly in front of a window creates glare; placing it to the side of a window gives you brightness without eye strain. The article on balancing natural and artificial light covers this in more detail if you want to go deeper on the lighting side.
What you need before you start setting up
Having the right items on hand before you begin saves multiple back-and-forth trips and prevents you from making layout decisions around equipment you do not yet have.
What you will need
Desk or work surface
Provides a stable, dedicated area for your computer and work materials.
Adjustable chair with lumbar support
Supports your spine during long seated sessions and reduces back fatigue.
Monitor stand or laptop riser
Raises your screen to eye level, reducing neck strain over the course of the day.
Desk lamp with adjustable brightness
Supplements natural light and reduces eye strain during low-light hours.
Cable management clips or ties
Keeps power and data cables organized so they do not clutter the desk or floor.
Noise-canceling headphones or earplugs
Reduces ambient household noise during calls or focused work.
Small area rug
Absorbs sound and visually defines the workspace within a larger shared room.
How to set up your home office step by step
Follow these steps in order. Each one builds on the previous, so rearranging the sequence can mean redoing work.
Pick and measure your spot
Choose the location based on noise level, proximity to an outlet, and natural light direction. Measure the width and depth available, then confirm your intended desk fits with at least 24 inches of clearance behind the chair for movement. Mark the area with tape on the floor if it helps you visualize the footprint before moving anything.
Position the desk and chair
Place the desk so the monitor will sit perpendicular to any window, not directly facing or directly behind it. Pull the chair close enough that your elbows rest at roughly a 90-degree angle when your hands are on the keyboard. If the chair does not adjust to match your desk height, use a firm cushion to raise your seat or place the monitor on a riser to lower the effective viewing angle.
Set your monitor height and distance
The top of your monitor should be at or just below eye level when you are seated with good posture. The screen should be roughly an arm's length away (about 20 to 28 inches). If you use a laptop, a riser plus an external keyboard and mouse achieves this without buying a separate monitor. Adjust until you can look at the center of the screen without tilting your head up or down.
Handle lighting
Position your desk lamp to the side opposite your dominant hand so it illuminates the work surface without casting a hand shadow. Set the lamp brightness so the screen and the surrounding area are at roughly similar brightness levels. A large difference between screen brightness and room brightness causes eye fatigue over time. If overhead lighting in the room is harsh, consider a warmer bulb or a diffusing shade.
Run and secure cables
Route power and data cables along desk edges or down the back of a desk leg before plugging everything in. Use adhesive cable clips or hook-and-loop ties to keep them in place. A tangle of loose cables at floor level is a trip hazard and also makes the space feel more chaotic than it is. A power strip with a long cord gives you flexibility to reach the nearest outlet without extension cords crossing walkways.
Create a visible boundary for the workspace
In a shared or open room, a physical boundary signals to others (and to yourself) that the area is a working zone. A small rug under the desk, a bookshelf used as a partial divider, or even a consistent lighting setup that differs from the rest of the room all work. The boundary does not need to be a wall. It needs to be consistent enough that entering or leaving it becomes a habit with a psychological meaning.
Dealing with noise and clutter once you are set up
A workspace that starts tidy tends to stay functional longer. In a small area, even a few stray items visually crowd the space and compete for your attention. The connection between home office clutter and focus is worth understanding if concentration has been a problem.
For ambient noise, soft materials absorb sound better than hard surfaces. A rug, a curtain, or even a bookshelf filled with books behind you can reduce echo noticeably. If outside noise is a persistent problem, the low-cost approaches to reducing home noise outlines practical options that do not require renovation.
The same principle that applies to a small kitchen applies here: limited space rewards deliberate organization. The strategies for organizing a kitchen with limited cabinet space offer transferable thinking about making every inch count.

Author
Home Editorial Team
Home Editorial Team is the collective byline for our editorial team and contributor network. Articles published under this byline or an editorial pen name are researched, written, and reviewed according to our editorial standards for clarity, consistency, and independence before publication.
View all articles →