
Organizing a Kitchen With Limited Cabinet Space
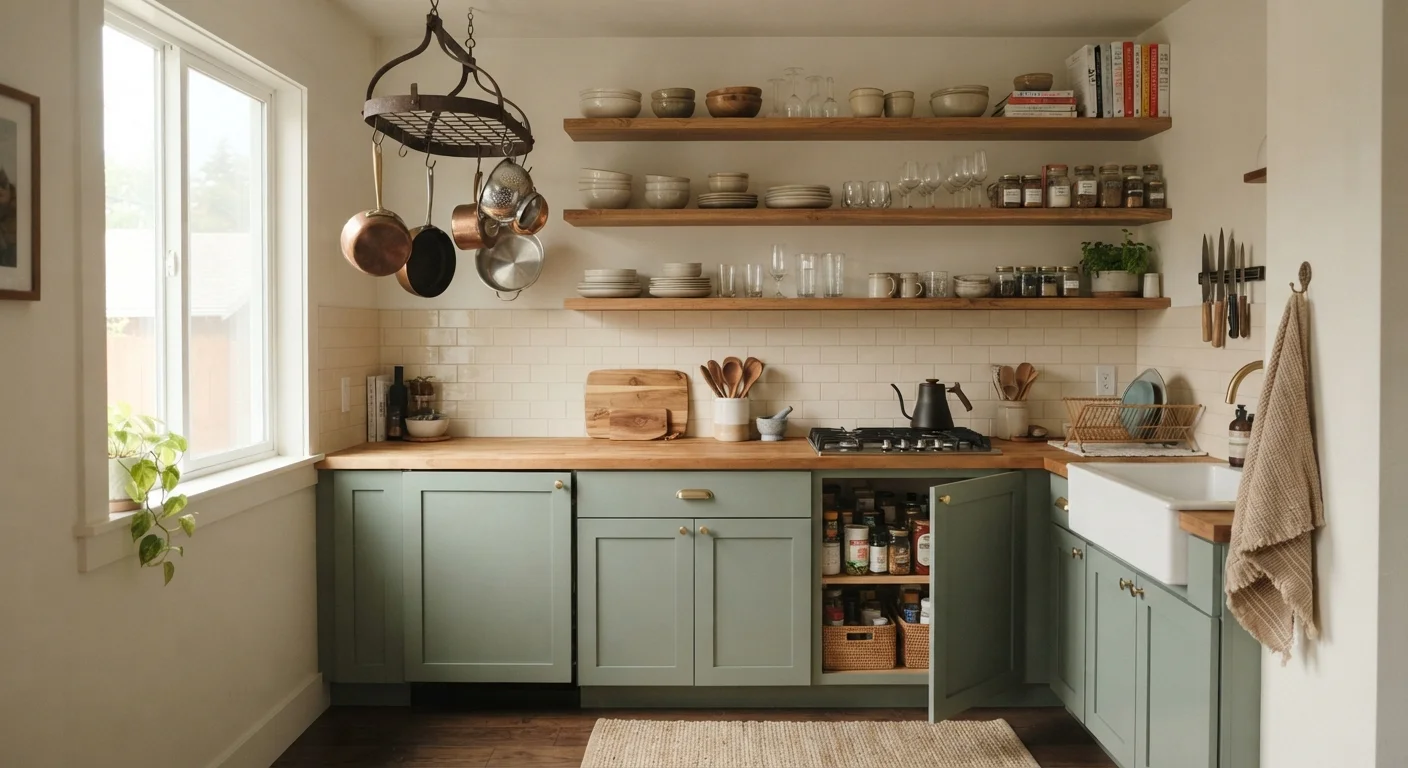
Photo credit: TrendingFaqs.com
In this article
Small kitchen, big challenges. Practical strategies to maximize every inch of cabinet, drawer, and counter space you have.
Key Takeaways
- Editing what you own is the first and most effective step before adding any storage.
- Vertical space inside cabinets is almost always underused and easy to reclaim.
- Grouping items by task rather than category reduces how far you have to reach while cooking.
- Drawer dividers and shelf risers cost little but recover significant usable space.
- Counter space is storage space: clearing it of rarely used items makes the kitchen feel larger.
Why cabinet space runs out so fast
Cabinet space does not disappear overnight. It shrinks gradually as duplicates accumulate, oddly shaped items claim more room than they should, and things get pushed to the back and forgotten. In a small kitchen, there is almost no margin for that kind of drift.
Before buying a single organizer, it helps to understand the two main reasons cabinets fill up: poor vertical use and poor editing. Most cabinet interiors have 12 to 18 inches of height, but items get stacked only two or three deep before toppling. That gap above the top item is wasted. At the same time, most households hold onto tools, gadgets, and cookware they rarely or never use, which crowds out the things they reach for every day.
If your kitchen is shared with others, coordination matters as much as physical storage. The guide to shared storage in multi-person households covers how to divide space fairly and maintain systems when multiple people use the same kitchen. For a broader look at how the layout of your home affects daily comfort, the Comfortable Living hub has related ideas worth browsing.
What you need before you start
What you will need
Shelf risers or stackable cabinet shelves
Double the usable levels inside a cabinet by creating a second tier for plates, mugs, or canned goods.
Drawer dividers
Keep utensils, tools, and small items separated so drawers stay navigable over time.
Lazy Susan (turntable)
Allow easy access to items stored at the back of deep corner cabinets.
Door-mounted organizers or hooks
Use the interior face of cabinet doors to hold lids, foil boxes, cutting boards, or small tools.
Measuring tape
Confirm organizer dimensions fit your cabinets before you commit to any storage solution.
Set aside a full morning or afternoon. Rushing through this process usually means putting things back without making real decisions, which leaves the cabinet in roughly the same state.
Step-by-step: reorganizing your kitchen cabinets
Empty one cabinet completely
Pull everything out of a single cabinet before moving to the next. Seeing the contents all at once makes it easier to spot duplicates and decide what actually belongs there. Wipe the interior while it is empty.
Sort every item into keep, donate, or discard
Handle each item and ask two questions: How often do you use this? Could you do without it? Duplicates (three spatulas, four wooden spoons) are candidates for the donate box. Gadgets used fewer than a few times a year probably belong out of the kitchen entirely.
Group what remains by task zone
Rather than organizing by category (all baking supplies together, all spices together), arrange items by where you use them. Things used at the stove go in the cabinet nearest the stove. Prep tools and cutting boards stay close to the main work surface. This reduces movement while cooking and makes it obvious when something is out of place.
Add shelf risers to reclaim vertical space
Place a shelf riser inside cabinets that hold plates, mugs, or canned goods. A riser typically adds a full second level, doubling how many items fit without stacking unstably. Measure cabinet height first to confirm the riser fits with room to spare.
Use cabinet doors for flat or lightweight items
The inside face of a cabinet door can hold a mounted rack for pot lids, a narrow organizer for aluminum foil and plastic wrap boxes, or a small hook rack for measuring cups. Door-mounted storage works best for items under about two pounds; heavier items can strain hinges over time.
Tackle drawers with dividers
Drawers without dividers become catch-alls within weeks. Adjustable dividers let you customize the layout to your actual utensils rather than guessing at standard sizes. Designate one drawer for daily cooking tools, a second for less-used gadgets, and a third for kitchen linens if space allows.
Return items and confirm the system works
Put everything back according to your zone plan. Stand at each work area and check that everything you need is within reach. If you have to walk more than a step or two to get a common tool, adjust its location. A system that feels slightly awkward at first will feel natural within a week of cooking normally.
Making the most of counters and non-cabinet storage
Even after optimizing cabinet interiors, some kitchens still need more room. Countertop organizers, wall-mounted magnetic knife strips, and pegboards can hold frequently used tools without consuming drawer or cabinet space. A tension rod installed inside a cabinet under the sink can hold spray bottles upright, freeing the cabinet floor for other items.
The pantry, if you have one, can absorb a lot of overflow from kitchen cabinets. A well-organized pantry keeps dry goods, extra cans, and bulk items out of prime cabinet real estate, so the cabinets near your stove and prep area hold only what you use day to day.
For readers who have found these spatial challenges come up in other rooms too, the article on small-home myths addresses what actually works versus what is mostly surface-level advice.

Author
Home Editorial Team
Home Editorial Team is the collective byline for our editorial team and contributor network. Articles published under this byline or an editorial pen name are researched, written, and reviewed according to our editorial standards for clarity, consistency, and independence before publication.
View all articles →