
Tire Pressure and Tread: The Two Numbers That Keep You Safe
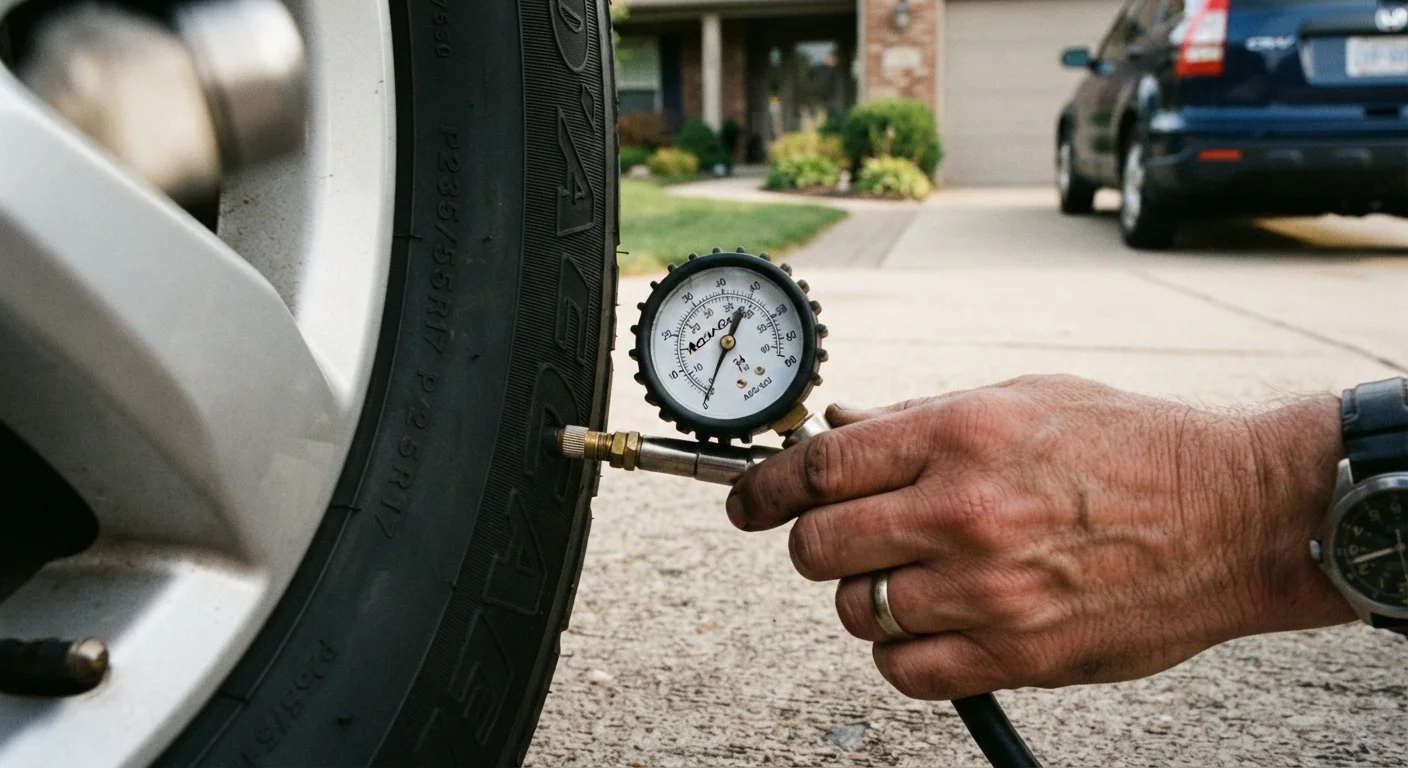
Photo credit: TrendingFaqs.com
In this article
Learn how to read tire pressure specs, check tread depth at home, and understand what happens when either falls out of range.
Key Takeaways
- Your vehicle's correct tire pressure is on the door jamb sticker, not on the tire sidewall.
- Tires naturally lose about 1 PSI per month and drop further in cold weather.
- A tread depth of 2/32 inch means a tire is legally worn out and must be replaced.
- The penny test gives a quick at-home read on whether tread depth is dangerously low.
- Driving on underinflated tires increases stopping distance and raises the risk of a blowout.
Where to find the right pressure for your tires
The number molded into the tire sidewall is the maximum pressure the tire can hold, not the target for your vehicle. Your correct inflation spec is on a sticker inside the driver's door jamb. It lists front and rear pressure separately, typically somewhere between 30 and 36 PSI (pounds per square inch) for passenger cars, though trucks and SUVs often run higher. Your owner's manual lists the same numbers.
Check pressure when the tires are cold, meaning the car has been parked for at least three hours or driven fewer than a mile. Heat from driving expands the air inside and will give you a falsely high reading. A basic digital or dial gauge costs only a few dollars and is accurate enough for this purpose.
If your car was built after 2008, it has a Tire Pressure Monitoring System (TPMS), which lights a dashboard warning when a tire drops roughly 25 percent below the spec. That light is a late warning, not a real-time gauge. By the time it glows, the tire is already meaningfully underinflated. Learn what the TPMS light and other dashboard warnings mean so you can respond correctly when one appears.
How to check and adjust tire pressure
What you will need
Remove the valve cap
Locate the valve stem on the wheel, a small rubber or metal tube about an inch long. Unscrew the small cap and set it somewhere you will not lose it, such as a pocket or cupholder.
Press the gauge firmly onto the valve
Push the gauge straight onto the valve stem with enough force to get a seal. A hissing sound means air is escaping and the seal is not tight. Reposition and try again until the hissing stops.
Read the pressure and compare it to the spec
Note the reading in PSI. Compare it to the number on your door jamb sticker. Write down the difference for each tire before moving on, so you do not lose track.
Add or release air as needed
At an air station, use the inflation hose to add air in short bursts, then recheck with the gauge. To release air, press the small pin inside the valve stem with a fingernail, a pen tip, or the release nub built into many gauges. Work gradually: it is easier to add more air than to put back what you released.
Replace the valve cap and repeat for all four tires
Screw the cap back on finger-tight. Work through all four tires, then check the spare if your vehicle has a full-size or compact spare. Many drivers forget the spare until they need it.
If you find a tire that keeps losing pressure between checks, the cause is usually a slow leak at the valve stem, a small puncture, or a bead leak where the tire meets the wheel. A shop can diagnose and fix these quickly. Do not drive on a tire that is more than 10 PSI below spec without addressing it first.
Reading tread depth and knowing when to replace
Tread depth is measured in 32nds of an inch. A new passenger tire typically starts at 10/32 to 11/32. The legal minimum in most U.S. states is 2/32. At that depth, the tire loses most of its ability to channel water away from the contact patch, which dramatically increases stopping distance on wet roads.
Most tires have built-in tread wear indicators: small rubber bars molded into the grooves at the 2/32 level. When those bars are flush with the surrounding tread, the tire is at or past its legal limit.
A quick field check uses a penny. Insert it into the tread groove with Lincoln's head pointing down. If you can see the top of Lincoln's head, the tread is at or below 2/32 and the tire needs replacing. A quarter gives an earlier warning: if you can see the top of Washington's head, you are at about 4/32, which is a reasonable point to start planning for replacement, especially if you regularly drive in rain. Sidewall codes, wear patterns, and rotation schedules cover additional ways your tires signal trouble before it becomes a safety issue.
Use the quarter test as your planning threshold
The penny test tells you a tire is already at the legal limit. The quarter test catches low tread earlier, at around 4/32, giving you time to budget for replacement before the situation becomes urgent. Check all four tires regularly, since wear is rarely perfectly even across the set.
What happens when these numbers go wrong
Underinflation is the more common problem. A tire that is 8 PSI low runs hotter, wears faster along the outer edges, and is more likely to suffer a sudden failure at highway speed. It also increases rolling resistance, which lowers fuel economy.
Overinflation is less common but causes its own problems. An overinflated tire bulges in the center of the tread, so only a narrow strip of rubber contacts the road. That reduces traction and causes faster center wear. It also makes the ride harsher and leaves the tire more vulnerable to damage from potholes.
Uneven tread wear often points to alignment or suspension problems rather than pressure alone. If one tire wears faster than the others, or if you see wear concentrated on one edge, get an alignment check. Which car maintenance tasks are safety-critical and which can wait can help you prioritize if you are managing several issues at once.

Author
Cars Editorial Team
Cars Editorial Team is the collective byline for our editorial team and contributor network. Articles published under this byline or an editorial pen name are researched, written, and reviewed according to our editorial standards for clarity, consistency, and independence before publication.
View all articles →