
Setting Up Two-Factor Authentication on Your Most-Used Accounts
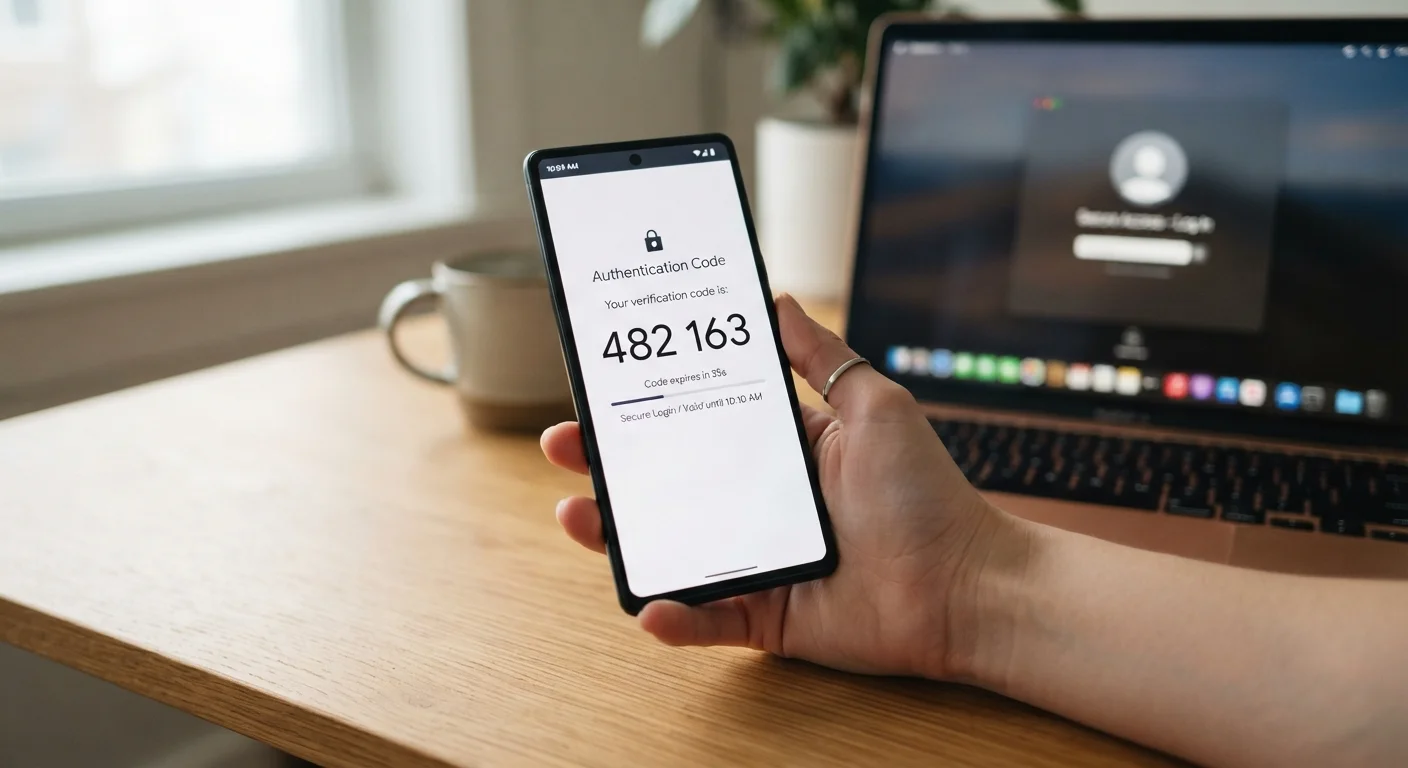
Photo credit: TrendingFaqs.com
In this article
A practical walkthrough for enabling two-factor authentication on email, banking, and social accounts to strengthen your online security.
Key Takeaways
- Two-factor authentication (2FA) requires a second proof of identity beyond your password, making unauthorized access much harder.
- Most email, banking, and social media platforms have a 2FA option buried in account security or privacy settings.
- Authenticator apps provide stronger protection than SMS codes, which can be intercepted through SIM-swapping attacks.
- Saving backup codes in a secure location prevents lockout if you lose access to your 2FA device.
- Enabling 2FA on your email account first is the highest-priority step because email resets most other passwords.
Why your password alone is not enough
A password is a single barrier. If someone obtains it through a data breach, a phishing email, or by guessing, they have full access to your account. Two-factor authentication (2FA) adds a second step: something only you physically possess, such as a phone that generates a time-sensitive code. Even if an attacker has your password, they cannot get in without that second factor.
Your email account deserves the most urgent attention. Because most sites use email to send password-reset links, anyone who controls your inbox can take over your other accounts in minutes. Start there before moving on to banking and social media.
For a broader introduction to how 2FA works, see the beginner's guide to two-factor authentication. Once 2FA is in place, pairing it with a strong, unique password for every account covers most common attack vectors. The guide to password managers explains how to manage unique passwords without memorizing all of them.
What you will need
What you need before you start
The process is the same across most platforms: find the security settings, choose a 2FA method, and verify that it works. The two most common methods are SMS text messages and authenticator apps. SMS is convenient and better than no 2FA at all, but authenticator apps are more secure. An app generates codes locally on your device rather than sending them over a phone network, so they cannot be intercepted if someone transfers your phone number to another SIM card without your knowledge.
Popular authenticator apps include Google Authenticator, Microsoft Authenticator, and Authy. Any of these work with nearly every major platform. Download one before you begin so it is ready when each site asks you to scan a QR code.
Authenticator app (Google Authenticator, Microsoft Authenticator, or Authy)
Generates time-sensitive login codes on your device without relying on SMS delivery.
Smartphone
Required to run an authenticator app or receive SMS verification codes.
Password manager
Stores backup recovery codes securely so you are not locked out if you lose your phone.
Step-by-step: enabling 2FA on your accounts
The steps below cover the general process for email, banking, and social media accounts. Interface labels vary slightly between providers, but the flow is consistent across all of them.
Secure your email account first
Sign in to your email provider. Navigate to your account settings, then look for a section labeled Security or Privacy and Security. Find the option for two-step verification, two-factor authentication, or login verification. Select it and follow the prompt to choose a method. Choose an authenticator app if the option is available. The site will display a QR code: open your authenticator app, tap the option to add an account, and scan the code. Enter the six-digit code the app shows to confirm the setup.
Enable 2FA on your bank or financial accounts
Log in to your bank's website or app. Go to Settings or Profile, then look for Security or Login preferences. Many financial institutions default to SMS for 2FA. If your bank supports an authenticator app, choose that. If only SMS is available, it still provides meaningful protection. After selecting your method, enter the verification code sent by your bank to confirm the change. Some institutions call this feature 'Enhanced login security' or 'Login alerts.'
Turn on 2FA for social media accounts
For most social platforms, go to Settings and look for Security and Privacy or Account Security. The specific path varies: on Facebook it is under Settings and Privacy > Settings > Accounts Center > Password and Security. On Instagram, go to Settings > Accounts Center > Password and Security > Two-factor authentication. On X (formerly Twitter), it is under Settings > Security and account access > Security > Two-factor authentication. In each case, choose the authenticator app option, scan the QR code with your app, and enter the confirmation code.
Save your backup codes
After completing 2FA setup on each account, look for a prompt to view or download backup codes. These are typically 8-10 single-use codes that let you bypass 2FA if your phone is unavailable. Copy or print them and store them somewhere separate from your phone, such as a printed sheet in a locked drawer or inside a password manager. Mark which account each set of codes belongs to.
Test the login on each account
Sign out of each account you just secured and sign back in. Confirm that the site prompts you for a verification code after you enter your password. Open your authenticator app, enter the current six-digit code, and verify that access is granted. If you used SMS, wait for the text and use that code. A successful test confirms 2FA is active and that your authenticator app or phone number is correctly linked.
After setup: staying secure and avoiding lockouts
Once 2FA is active on your accounts, two habits keep it working reliably. First, save backup codes. Most platforms generate a set of one-time-use recovery codes when you enable 2FA. Store them in a printed note in a secure place or in a password manager. If you lose your phone, those codes are often the only way back in.
Second, update your 2FA method if you change phone numbers or switch devices. Go back into each account's security settings and register the new device before deactivating the old one. Many people get locked out because they removed their old phone from their account before setting up the new one.
For a regular security review beyond 2FA, the monthly internet security checklist walks through habits you can run through on a recurring basis to keep all your accounts in good shape.

Author
Tech Editorial Team
Tech Editorial Team is the collective byline for our editorial team and contributor network. Articles published under this byline or an editorial pen name are researched, written, and reviewed according to our editorial standards for clarity, consistency, and independence before publication.
View all articles →