
Two-Factor Authentication: What It Is and How to Turn It On
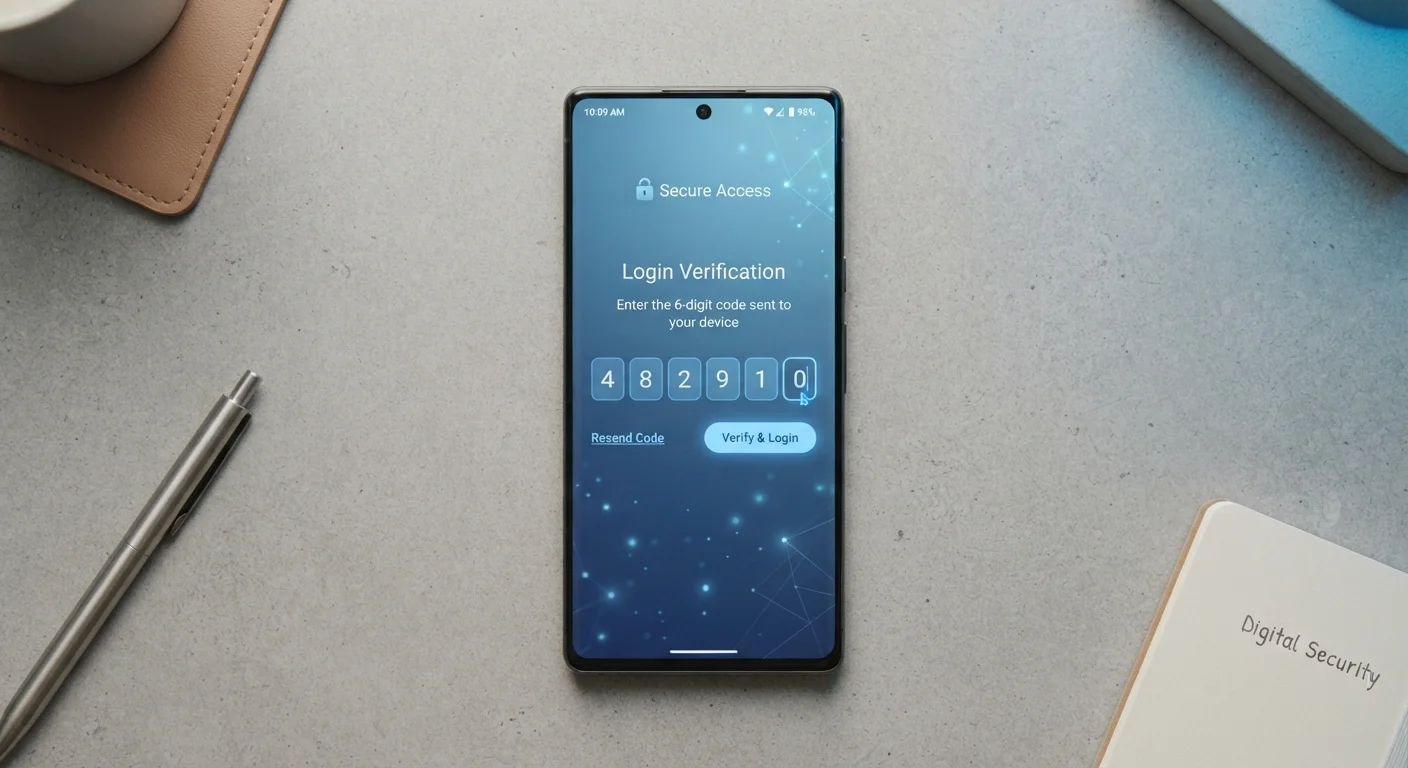
Photo credit: TrendingFaqs.com
In this article
A beginner-friendly guide to enabling two-factor authentication on your most important accounts.
Key Takeaways
- Two-factor authentication requires a second proof of identity beyond your password at login.
- Even a compromised password cannot grant access without the second factor.
- Most major accounts including email, banking, and social media support two-factor authentication.
- An authenticator app provides stronger protection than SMS-based codes.
- Enabling two-factor authentication typically takes under 10 minutes per account.
What two-factor authentication actually does
A password is a single lock on your account. If someone obtains it through a data breach, phishing, or guessing, they get in. Two-factor authentication (2FA) adds a second, independent check at login. After entering your password, you must also provide something only you have access to in that moment: a code from your phone, a prompt in an app, or a physical security key.
The practical effect is significant. A stolen password alone is no longer enough to access your account, because the attacker would also need to physically control your second factor. This is why security professionals widely recommend 2FA as one of the most effective steps an everyday user can take. It does not make an account unbreakable, but it removes the most common attack vector.
Common second-factor types include SMS codes, time-based codes from an authenticator app, push notifications, and hardware security keys. For most people, an authenticator app strikes the best balance between security and convenience. To understand how 2FA fits into a broader account security strategy, see a realistic guide to account security.
Authenticator app
Generates time-based, one-time verification codes directly on your device without relying on a cellular signal.
Mobile phone with SMS capability
Receives text message codes as a second factor if you choose the SMS verification method.
Backup codes (printed or stored securely)
One-time emergency codes provided by the service that let you regain access if your second factor is unavailable.
Before you start
You do not need technical experience to turn on 2FA. The process is mostly point-and-click, and the steps below apply broadly across most services even though the exact menu names differ. Gather what you need before opening any settings.
What you will need
Once you have these items ready, the setup process for each account typically takes five minutes or less. If you use a password manager to keep track of your login credentials, that tool will continue to work normally alongside 2FA. For more on that combination, see how password managers work alongside strong authentication.
How to turn on two-factor authentication
Choose your second-factor method
Before opening any account settings, decide which type of second factor you will use. The two most common options are SMS text message codes and authenticator apps. SMS is easy to set up and works on any phone, but codes sent by text can be intercepted in rare circumstances. An authenticator app generates codes locally on your device and does not depend on your carrier, making it more reliable and generally more secure. Most major authenticator apps are free and available for both Android and iOS.
Open the security settings for your account
Sign in to the account you want to protect. Navigate to your account settings, then look for a section labeled Security, Privacy, or Login. The exact label varies by service. Inside that section, look for an option called Two-factor authentication, Two-step verification, or Multi-factor authentication. These terms all describe the same concept. Select it to begin setup.
Select and connect your second factor
The account will prompt you to choose a verification method. If you select an authenticator app, the service will display a QR code on screen. Open your authenticator app, tap the option to add a new account, and scan the QR code with your phone's camera. The app will immediately begin generating six-digit codes that refresh every 30 seconds. If you select SMS, enter your mobile number and wait for a test code to arrive by text.
Verify the connection with a test code
The service will ask you to enter a code to confirm the setup worked. Type the current six-digit code shown in your authenticator app, or the code sent to your phone by SMS. Enter it exactly as shown, including any leading zeros, before it expires. Once the code is accepted, two-factor authentication is active on that account.
Save your backup codes
After verification, most services display a set of single-use backup codes. These codes let you log in if your phone is lost, stolen, or unavailable. Copy them and store them somewhere secure: a printed sheet in a locked drawer, or an encrypted notes app works well. Do not store backup codes in an unsecured email draft or an easily accessible notes file on your device.
Repeat for your other important accounts
Two-factor authentication is most valuable when applied consistently. Work through your most important accounts in order of sensitivity: email first, then banking and financial accounts, then social media. Email is the highest priority because most password-reset flows go through it; if an attacker controls your inbox, resetting other account passwords becomes straightforward for them. For a practical walkthrough of specific platforms, see how to set up two-factor authentication on your most-used accounts.
After setup: what changes at login
Once 2FA is active, your login experience has one extra step. After you enter your password, the service will prompt you for a verification code. You open your authenticator app, read the current code, and type it in. The whole process adds about 10 to 15 seconds. Many services offer a "trust this device" option that skips the code prompt on devices you use regularly, which reduces that friction for day-to-day use.
If you ever lose your phone or switch devices, use one of your saved backup codes to log in, then reconfigure your authenticator app on the new device. This is why saving backup codes in step 5 matters.
Keep your authenticator app backed up
Many authenticator apps include a cloud backup or account-transfer feature. Enabling it means you will not lose all your configured accounts if you get a new phone. Check your app's settings for a backup or export option, and activate it before you need it.
For a broader set of habits to keep accounts safe over time, the monthly internet security checklist covers 2FA alongside other practical steps you can review regularly. If you also use accounts on public networks, staying safe on public Wi-Fi explains additional precautions worth taking.

Author
Tech Editorial Team
Tech Editorial Team is the collective byline for our editorial team and contributor network. Articles published under this byline or an editorial pen name are researched, written, and reviewed according to our editorial standards for clarity, consistency, and independence before publication.
View all articles →